Hey guys Cavalier here, commission painter for Frontline Gaming and co-host of Splintermind the Dark Eldar Podcast here today with another painting tutorial. This time I’m discussing my approach to painting liquids.
Now for this commission here, its a Tabletop + commission which means we are working with a limited amount of highlights and blending. You can definitely do a lot more when painting liquids, but this serves as a great foundation and works well when applied across a large force such as Drukhari Wyches which have vials of combat drugs on every model!
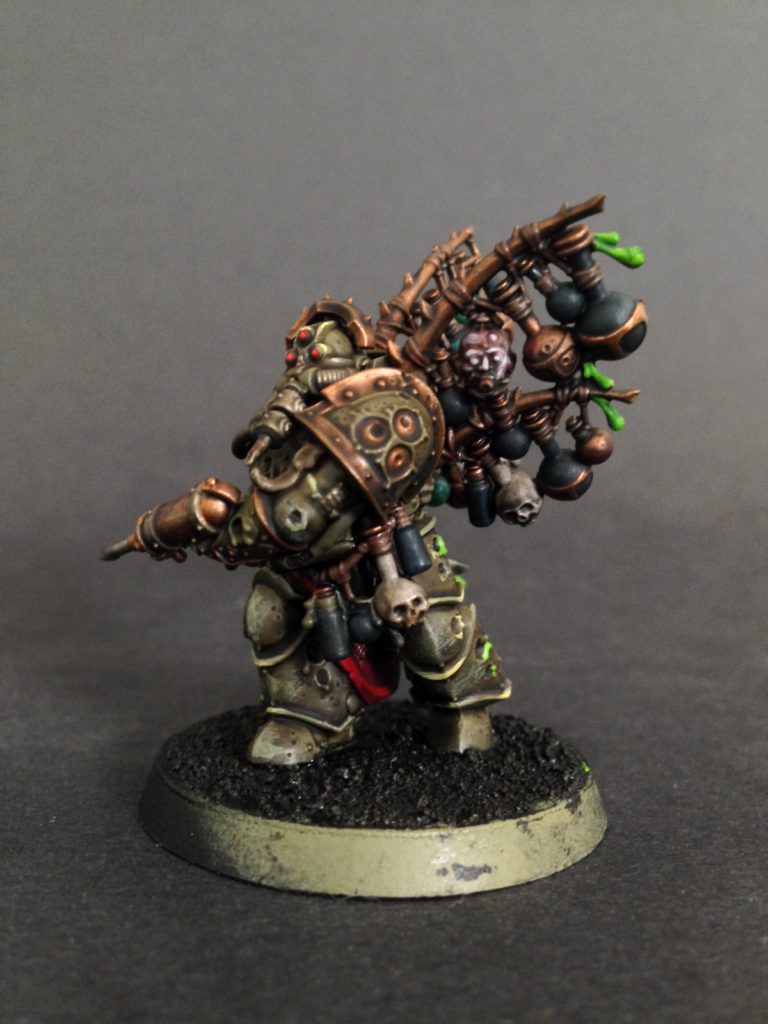
So for this project we’ll be looking at the Biologus Putrifier a great new model for Death Guard. Now as you can see below the model is nearly complete, so I wont be going over how I got to this stage. If you are looking for a tutorial on how I paint Death Guard in general, refer back to this article my Single Highlight Death Guard Tutorial. This is more about fine detail work.
STEP 1: So to begin with I paint the vials Stegadon Scale a great paint from GW. I also like this color because it can take the all the washes I apply to the model as a whole, and it only adds to the look of the liquid.

STEP 2: I then hit the vials and bottles with a trio of washes: Nuln Oil, Agrax Earthshade and Seraphim Sepia, this produces a wonderfully grimy look to the bottles and gives a subtle mottled effect to that once solid Stegadon Scale.
STEP 3: Now normally I’d do a little clean-up and restore some of that Stegadon Scale to a more solid color, but the murky effect really works for this model. But just because that “clean-up” stage is mandatory for a lot of colors, doesn’t mean its a universal rule. If you like the way something looks and it works for the effect you are going, go with it! By leaving the Stegadon Scale with all the miscellaneous washes over it, it gives the appearance of “disturbed sediment” swirling in the bottles as the Plague Marine tromps across the battlefield.
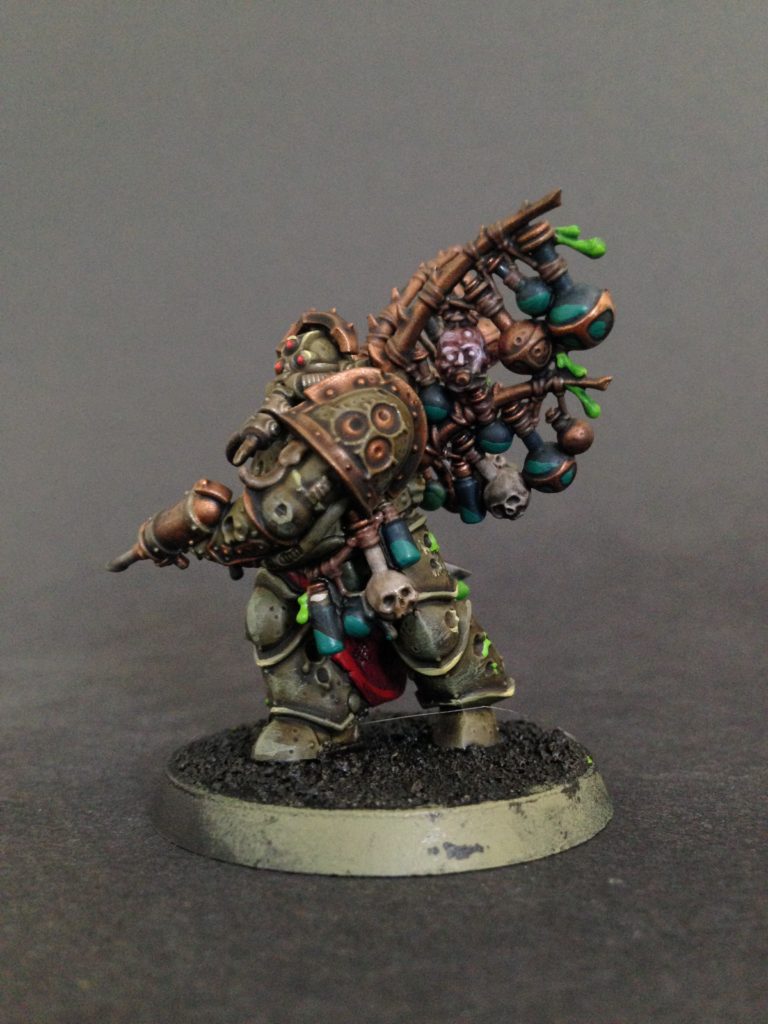
With that idea of sediment in mind, I paint a solid coat of Kabalite Green in collected little pools, with the meniscus line angled as such to make it look like the “heavier” liquid within these foul potions has shifted forward in the direction the bottles and vials are leaning. Thus if the vials and bottles are leaning forward, you paint them in the forward bottom portion of the vial/bottle. Just think of it as a bottle of pond water with mud and sediment at the bottom of the bottle.
Step 4:
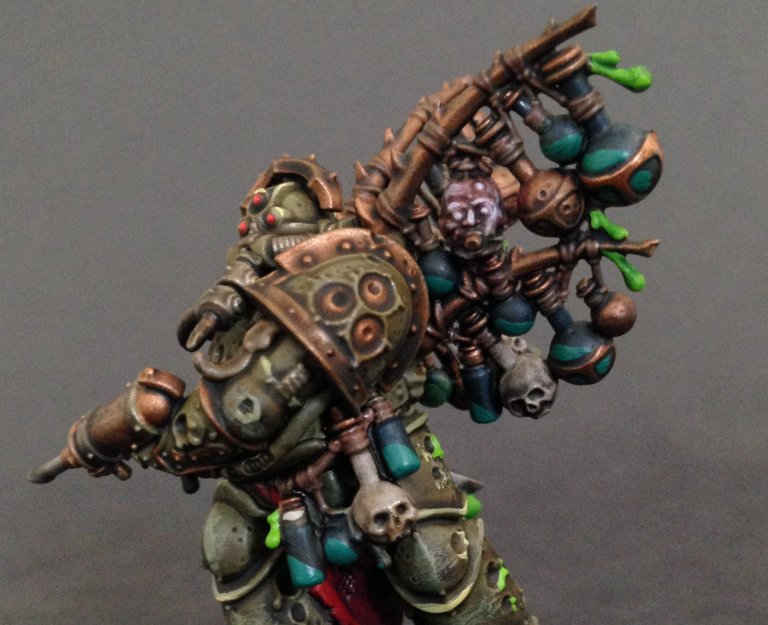
Now repeat the same process just splitting that Kabalite Green “sediment” in half with a layer of with a 50/50 mix of Kabalite and Sybarite Green. After that repeat the process, splitting the mixed half Kabalite/Sybarite Green with a layer of pure Sybarite Green.

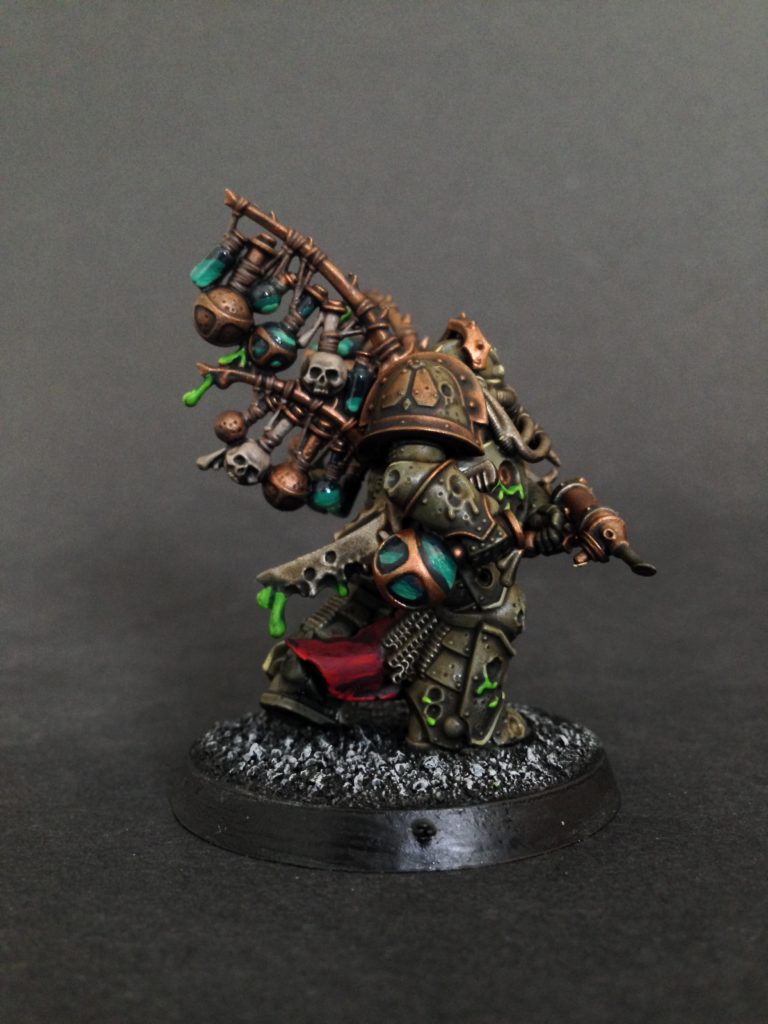
Final Step: Now for the easy part! Hit those bad boys with a ‘Ard Coat (a gloss lacquer) and you are done! With a more advanced paint job you do sparkle effects and more highlighting to go for more ethereal look to the potions, but even painted to this standard you’ve managed to establish some very nice eye-catching details that’ll look good at any angle. The ‘Ard Coat does a lot of the work for you picking up the light in a really cool way.


So I hope you guys found that useful. It can really bring a model to life when you know how. If there are any techniques, simple or complex that you guys are interested in, please let me know in the comments section below. Stay tuned and I’ll be back next week with another article.
Also if you are interested in exclusive Dark Eldar and all things Aeldari coverage check out our podcast Splintermind the Dark Eldar Podcast, where we tactics, hobby, lore, interview Black Library authors all as it relates to the Eldar factions. Thanks for stopping by!